
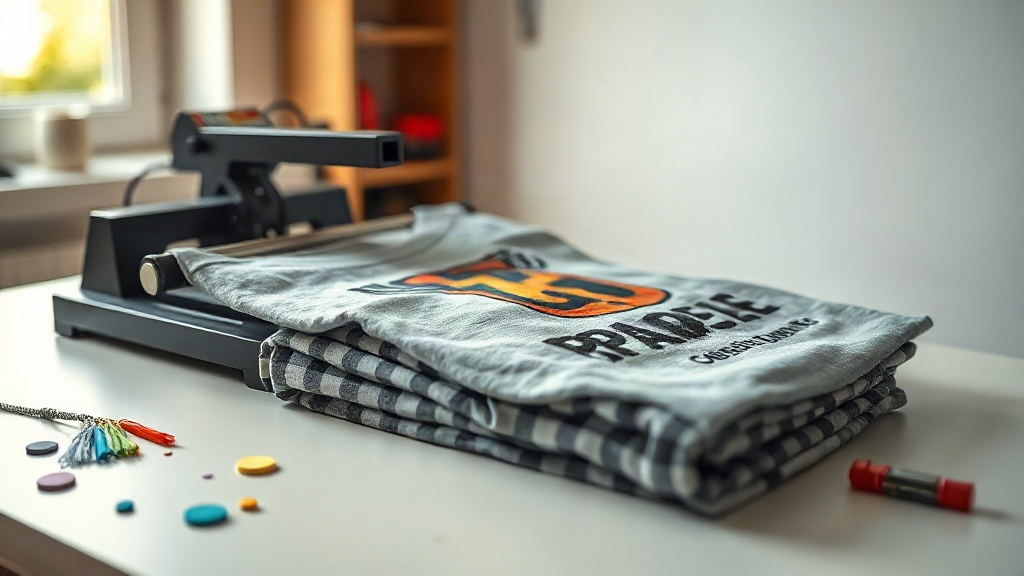
Most people who try DTF Transfers for the first time blame the film when something fails. The transfer lifts at a corner, the colors look washed out, or the print cracks after two washes. In almost every case I have troubleshooted, the film was fine and the press settings were not. Direct-to-film is a forgiving process compared to vinyl or screen printing, but forgiving is not the same as automatic. It still rewards a few deliberate decisions, and those decisions start before the transfer ever touches the shirt.
This guide covers the variables that actually move the needle: fabric choice, temperature, pressure, dwell time, peel timing, and the first wash. Nothing here requires exotic equipment. A decent heat press, a temperature gun if you want to verify, and a little patience will get you most of the way.
What DTF Transfers Actually Are
A DTF Transfers sheet is a printed film carrying a mirror-image design in pigment ink, dusted with a thermoplastic adhesive powder and cured. When you press it onto fabric, the powder melts into the weave and locks the ink in place. That powder layer is the whole trick. It bonds to cotton, polyester, blends, canvas, and even some nylons, which is why DTF has quietly become the go-to method for anyone printing on mixed inventory.
Because the adhesive sits on top of the ink rather than soaking into the fabric, DTF produces a slightly raised, rubbery hand feel. Some people love it. Some prefer the softer touch of sublimation or screen print. Knowing that trade-off up front saves a lot of disappointment later.
Fabric Choice Changes Everything
DTF is advertised as working on almost anything, and that is broadly true, but "works" and "works well" are different standards. Here is how the common substrates behave.
- 100% cotton: The easiest target. Adhesion is strong, colors are vivid, and wash durability is excellent when pressed correctly.
- 100% polyester: Prints fine, but you must lower the temperature. Polyester can scorch or glaze above 320°F, and some dyes migrate into the adhesive over time, which shows up as a faint halo around the design.
- Cotton/poly blends: Reliable middle ground. A 50/50 tee presses much like cotton with a slightly lower temperature ceiling.
- Canvas and denim: Thick weaves need more pressure and a longer dwell. A pre-press to flatten the surface helps a lot.
- Nylon and treated synthetics: Possible, but test first. Some coatings repel the adhesive, and you will not know until the first wash.
A quick pre-press of the garment for three to five seconds removes moisture and wrinkles. That single step prevents more failures than any other habit.
Temperature, Pressure, and Time
The three settings work together, and changing one usually means adjusting the others. A good starting point for cotton is 320°F for 15 seconds at medium to firm pressure. Polyester wants closer to 280°F to 300°F. Blends sit around 300°F to 310°F.
Why Pressure Matters More Than People Expect
Insufficient pressure is the most common cause of transfers that peel at the edges. The adhesive powder needs to be pushed into the fabric weave, and that requires real force. If your press handle closes with almost no resistance, you are probably under-pressing. Medium-firm is the target: enough that the shirt compresses visibly, not so much that the design squashes outward.
Dwell Time and Even Heat
Fifteen seconds is a reasonable default, but thick garments may need 18 to 20 seconds because the fabric pulls heat away from the film. Uneven heat is another quiet killer. If one corner of your platen runs cooler, that corner will fail first. A cheap infrared thermometer will tell you more about your press than any spec sheet.
Peel Timing: Hot, Warm, or Cold
This is where opinions diverge, and for good reason. Most modern DTF Transfers are designed for a warm peel, meaning you wait ten to fifteen seconds after the press opens, then pull the film back at a low angle in one smooth motion. Rushing a hot peel can smear the adhesive. Waiting until the transfer is fully cold can make the film grab the ink and pull detail out of fine lines.
If you are unsure, test a small batch. Press one transfer, peel it immediately. Press another, wait fifteen seconds, peel. Press a third, let it cool completely. Compare the edges and the fine detail. Your press and your film will tell you which method wins.
The Second Press and the First Wash
After peeling, a short second press of five to eight seconds over a cover sheet or parchment sets the adhesive fully and smooths the surface. It is not strictly required, but it noticeably improves durability and reduces that sticky feel.
Then comes the wash test, which is the only test that matters. Turn the garment inside out, use cold water, and skip the dryer if you can. Heat is what breaks down the adhesive over time. A correctly pressed DTF print on cotton typically survives dozens of wash cycles without cracking, while a poorly pressed one fails in two or three.
Common Mistakes and How to Fix Them
- Edges lifting after washing: Increase pressure and add the second press.
- Colors look dull: Your temperature is too low, or the film was stored in a humid room.
- Print feels stiff and plastic-like: You pressed too hot or too long. Lower the temperature and shorten the dwell.
- Adhesive residue around the design: The film was peeled too hot, or the design had excess powder that was not shaken off before curing.
- Fine lines disappear: Cold peel pulled the ink. Switch to a warm peel.
Frequently Asked Questions
Do DTF transfers work on dark and light fabrics equally?
Yes. Unlike sublimation, DTF lays a white ink base under the colors, so dark garments print just as vividly as light ones. You do not need separate film types for different shirt colors.
How long should I wait before washing a freshly pressed DTF shirt?
Give it at least 24 hours. The adhesive continues to settle as it cools and cures, and washing too soon can weaken the bond before it has fully set.
Can I press DTF transfers with a household iron?
You can, but results are inconsistent. An iron cannot deliver even pressure across a large area, so corners and edges tend to lift. A basic clamshell or swing-away press is worth the investment if you plan to print regularly.
Why did my transfer crack after a few washes?
Cracking usually points to under-curing or too much heat during the press. Check that your temperature is accurate with a thermometer, confirm your dwell time, and make sure you are not stretching the garment while the print is still warm.
How should I store unused DTF film?
Keep it flat, cool, and dry. Humidity is the enemy of the adhesive powder, and rolled or folded film can develop creases that show up as lines in the final print. A sealed bag in a climate-controlled room works well.
Getting Consistent Results
The gap between a frustrating DTF experience and a reliable one comes down to a handful of habits: pre-press the garment, verify your temperature, use real pressure, peel at the right moment, and do the second press. None of these steps take more than a few seconds, and together they turn DTF Transfers into one of the most dependable decoration methods available. Test on your own fabrics, keep notes on what works, and the process becomes second nature quickly.