
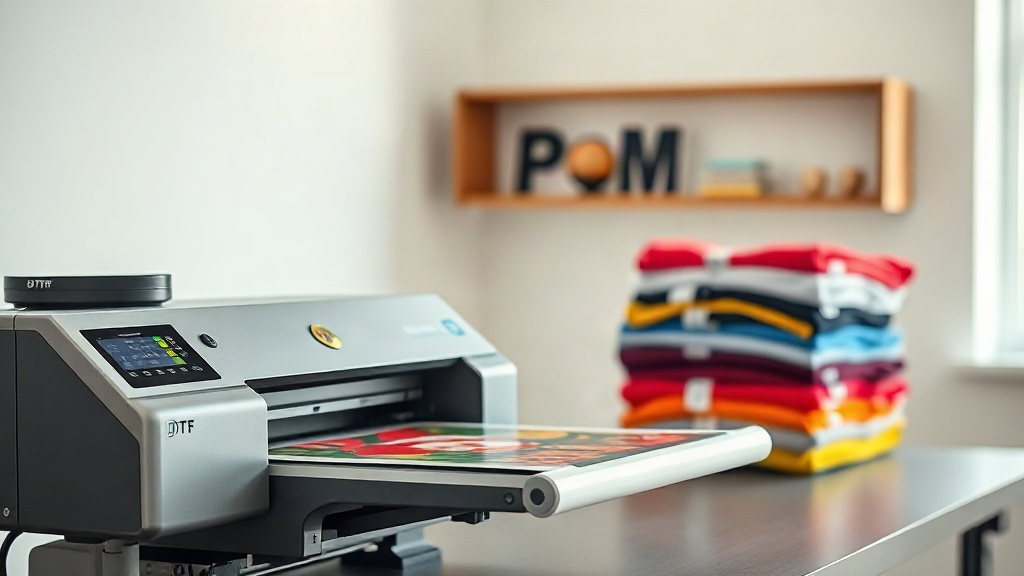
If you've been exploring custom apparel decoration, you've likely encountered DTF printing. Short for Direct-to-Film, this technology has quickly become a favourite among small business owners, hobbyists, and professional printers alike. Unlike traditional methods that require specialized equipment or tedious weeding, DTF offers a streamlined workflow that works on almost any fabric. In this guide, we'll walk you through everything you need to know to master DTF printing, from the basics to advanced tips.
What Exactly Is DTF Printing?
DTF printing is a digital printing method where your design is printed onto a special film, coated with a hot-melt adhesive powder, and then heat-pressed onto the fabric. The process eliminates the need for cutting or weeding, making it incredibly efficient for complex, multi-colour designs. Because the ink sits on top of the fabric rather than being dyed into it, DTF transfers can be applied to cotton, polyester, blends, and even treated nylon. This versatility is a game-changer for anyone who works with diverse garment types.
Why DTF Has Become So Popular
The rise of DTF isn't just hype. It solves several pain points that have plagued garment decorators for years. Here are the main reasons it's winning hearts:
- No weeding required: Say goodbye to the tedious process of removing excess vinyl. DTF films come ready to press after powdering.
- Vibrant colours on dark fabrics: Unlike DTG, which often struggles with white ink on dark shirts, DTF lays down a white base layer that makes colours pop.
- Works on multiple fabric types: Cotton, polyester, blends, leather, and more. You're not limited to 100% cotton.
- Durable and stretchable: When applied correctly, DTF transfers withstand repeated washing and stretching without cracking.
- Cost-effective for short runs: No screens or plates needed, so you can profitably print one-off designs.
The DTF Printing Process Step by Step
Understanding the workflow is key to getting consistent results. Here's a breakdown of the typical DTF process.
1. Design Preparation
Start with a high-resolution image. DTF printers use CMYK plus white ink, so your design should be in RGB or CMYK colour mode. Mirror the image horizontally before printing, as the film will be flipped when pressed. Pay attention to fine details: thin lines and small text may need a minimum thickness to reproduce cleanly.
2. Printing onto Film
Load the DTF film into your printer. The printer lays down a layer of white ink first (or sometimes colour first, depending on the printer setup), followed by the CMYK colours. The white ink acts as a base, ensuring the colours remain vibrant on dark garments. After printing, the film may appear wet; that's normal.
3. Powdering and Curing
While the ink is still wet, sprinkle hot-melt adhesive powder evenly over the printed area. Shake off the excess, then cure the film in an oven or with a heat press. The powder melts and bonds with the ink, creating a transferable adhesive layer. Proper curing is crucial: undercured powder leads to poor adhesion, while overcuring can cause the film to curl or the ink to discolour.
4. Heat Pressing
Set your heat press to the recommended temperature (usually 150-160°C or 300-320°F) and pressure (medium to firm). Place the transfer face-down on the garment, cover with a protective sheet, and press for 10-15 seconds. Let it cool completely before peeling the film. For a softer feel, you can press again for a few seconds after peeling.
Materials and Equipment You'll Need
To get started with DTF, you'll need more than just a printer. Here's a checklist:
- DTF printer: A dedicated printer with white ink channels, such as those from Epson or Roland.
- DTF film: Available in rolls or sheets; choose matte or glossy depending on your preference.
- Hot-melt adhesive powder: Usually TPU-based, available in fine or coarse grades.
- Curing oven or heat press: For melting the powder.
- Heat press: For transferring the design onto the garment.
- Protective sheets: Teflon or parchment paper to protect your press and garment.
- Software: RIP software to manage colour profiles and white ink layering.
Common Challenges and How to Overcome Them
Even though DTF is relatively straightforward, beginners often run into a few issues. Here's how to troubleshoot:
Colours look dull after pressing
This usually means the white ink layer is too thin or the powder wasn't fully cured. Increase the white ink density in your RIP settings and ensure the powder is melted completely (it should look glossy, not powdery).
Transfer peels off after washing
Poor adhesion can result from insufficient pressure, incorrect temperature, or undercured powder. Double-check your heat press settings and consider using a higher-quality powder. Also, wait 24 hours before washing the garment.
Film curls during curing
This happens when the curing temperature is too high or the film is exposed too long. Reduce the temperature slightly or shorten the curing time. Using a dedicated curing oven with even heat distribution helps.
DTF vs. Other Printing Methods
How does DTF stack up against DTG, screen printing, and vinyl? Here's a quick comparison:
- DTG: Best for 100% cotton, but white ink on dark shirts can be problematic. DTF excels on dark and synthetic fabrics.
- Screen printing: Cost-effective for large runs, but setup costs are high for small batches. DTF wins for short runs and complex designs.
- Vinyl: Great for simple one-colour designs, but weeding is time-consuming. DTF handles full-colour graphics with no weeding.
Tips for Perfect DTF Transfers
After countless trials, here are some best practices I've picked up:
- Always do a test press on a scrap garment to dial in your settings.
- Store unused film in a cool, dry place to prevent moisture absorption.
- Use a lint roller on the garment before pressing to remove dust and fibres.
- Pre-press the garment for a few seconds to remove wrinkles and moisture.
- For stretchy fabrics, use a stretch additive in your powder or choose a flexible powder.
Frequently Asked Questions About DTF Printing
Can I use DTF on 100% polyester?
Yes, DTF works well on polyester. However, because polyester is heat-sensitive, use a lower temperature (around 140°C) and press for a shorter time to avoid scorching or dye migration. Always test first.
How long do DTF transfers last?
With proper application and care, DTF transfers can last 50+ washes. To maximise longevity, wash inside out in cold water and avoid harsh detergents or high heat in the dryer.
Do I need a special printer for DTF?
You can convert certain Epson printers to DTF by adding a white ink circulation system and using DTF ink. However, dedicated DTF printers are available and offer more reliable results.
Is DTF printing cost-effective for small businesses?
Absolutely. The lack of setup costs and the ability to print one-off designs make DTF ideal for small businesses, especially those offering personalised products. The cost per transfer is low, and you can price competitively.
What's the difference between DTF and DTG?
DTG prints directly onto the garment, while DTF prints onto a film that is then transferred. DTF generally offers better durability on dark and synthetic fabrics, whereas DTG is limited to cotton and requires pre-treatment.
Whether you're a seasoned pro or just starting out, DTF printing opens up a world of possibilities for custom apparel. With the right equipment and a bit of practice, you'll be creating vibrant, long-lasting designs that your customers will love. So why not give it a try? Your next best-selling shirt might be just a press away.