
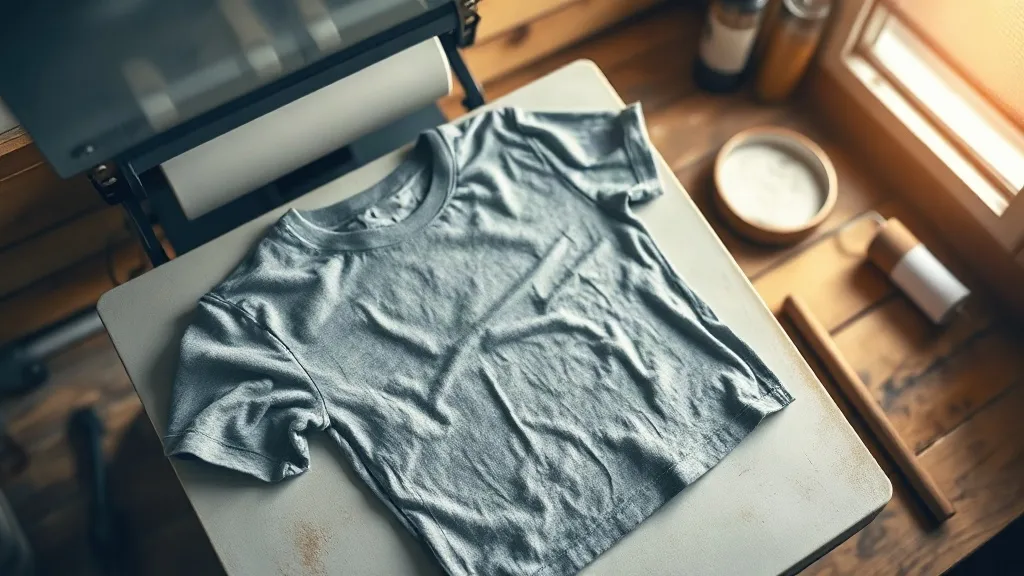
Most shops learn heat transfers on a 100% cotton tee and then hit a wall the moment a customer hands over a 50/50 blend. The print looks fine coming off the press, then a few washes later the edges lift or the whole design feels stiff and plasticky. It is not a press malfunction and it is not bad film. Blends simply behave differently, and once you understand why, the fix becomes routine instead of a guessing game. This guide walks through what actually happens when dtf transfers meet cotton-poly fabric, and how to build a process that holds up on the shirts people really wear.
Why 50/50 Blends Are a Different Animal
A 50/50 shirt is half cotton, half polyester, and those two fibers respond to heat and moisture in opposite ways. Cotton absorbs moisture and tolerates higher temperatures without much change. Polyester is a thermoplastic: heat softens it, and it can shrink, glaze, or shift slightly under the platen. When you press a transfer onto a blend, the adhesive has to bond to two surfaces with different surface energies and different rates of expansion.
There is a second issue that trips up a lot of newcomers. Blended shirts are often dyed with disperse dyes, and those dyes can migrate into the adhesive layer when heat and pressure are applied. You will see this as a faint color ghosting through a light-colored print, usually after a few days rather than immediately. It is not a defect in the dtf film. It is dye sublimation happening at low levels inside your own press.
The practical takeaway
You are not pressing onto a neutral surface. You are pressing onto a surface that is chemically active under heat. Everything below follows from that single fact.
Press Settings That Actually Work on Blends
The settings printed on most film packaging assume 100% cotton. On a blend, those numbers are usually too hot and too long. A workable starting point looks like this:
- Temperature: 300 to 310°F (roughly 150 to 155°C). Stay under 320°F on blends unless the shirt's care label says otherwise.
- Pressure: Medium. Firm enough that you can see the fabric texture through the transfer, but not so hard that the platen edge leaves a shine line.
- Press time: 10 to 12 seconds for the main press, plus a short 3 to 5 second re-press after peeling.
- Peel: Warm peel for most films. Letting it cool completely on a blend often makes the carrier release unevenly.
Run a test shirt before committing to a full order. Press one small design, let it cool, stretch it gently, and look at the edges under a lamp. If you see a halo of unadhered powder or the film fights you during peel, drop the temperature by 10°F and try again. Two test shirts cost far less than a reprint on twenty.
Pre-pressing matters more than you think
Give the shirt a 3 to 5 second pre-press before laying the transfer down. This drives out ambient moisture, which is the single most common cause of poor adhesion on blends. A shirt that feels dry to the touch can still hold enough humidity to steam under the film and leave you with a weak bond. If you store blanks in a humid room, pre-press a couple of extra seconds.
Choosing Film and Powder for Blended Fabrics
Not all film behaves the same way on poly content. Thinner films tend to conform better to the slightly smoother surface of a blend, which reduces the stiff hand-feel that gives cheap prints away. A mid-range adhesive powder also helps: ultra-fine powder gives a softer finish but can struggle on textured weaves, while a standard-grain powder bonds more aggressively at lower temperatures.
If you are sourcing supplies and want to compare options before committing to a bulk order, it helps to see what is available from a supplier that stocks both film and powder together, so your adhesive and carrier are matched rather than mixed from different batches. Consistency between rolls matters more on blends than on cotton, because there is less margin for error in the bond.
Wash Testing Without Wasting Shirts
Every shop should keep a wash log. It sounds fussy until the first time a customer returns a shirt, and then it becomes the most useful document in the building.
- Press a test print with the exact settings you plan to use in production.
- Cut the print into four sections so you can test different wash conditions on one shirt.
- Wash one section inside out in cold water, one in warm, one with a tumble dry on low, and leave one unwashed as a control.
- Photograph all four sections side by side after each cycle and note the date.
After three to five cycles you will see a clear pattern. Prints that fail on blends usually fail at the edges first, and they fail faster in a warm wash with a hot dryer than in any other condition. If your test print survives five warm cycles with only minor edge wear, your production settings are solid. If it starts lifting at cycle two, your temperature is probably too low for the adhesive you are using, or your pressure is uneven across the platen.
Fabric Prep and Placement Details That Save Reprints
Small habits separate shops with low reprint rates from shops constantly redoing orders. On blends specifically, watch for these:
- Lint: Poly-cotton sheds fibers under heat. A quick pass with a lint roller before pressing prevents specks trapped under the film.
- Seams and collars: Never press across a thick seam without a pressing pad. The height difference creates uneven pressure and a weak spot right where the shirt flexes most.
- Fabric stretch: Blends stretch slightly under the platen. Smooth the shirt outward from the center rather than pulling it flat, so it does not spring back and wrinkle the print.
- Cooling: Let the pressed shirt rest flat for a minute before folding. Folding a warm print can trap heat and soften the bond.
When customers ask for dtf transfers near me
If you run a shop that takes walk-in orders, expect this question regularly from small teams and event organizers who want a local source. Being able to explain why a blend needs different handling than a cotton tee is a genuine selling point. It signals that you have actually pressed these shirts rather than just reselling film, and customers remember that kind of specificity when they need a second order.
When a Blend Print Fails Anyway
Sometimes a print lifts despite careful settings, and the cause is the shirt itself. Low-quality blends with high poly content and heavy dye loads are simply harder to bond to. If you press the same design on two different blank brands and only one fails, the blank is the variable, not your process. Note the brand and move it to a list of fabrics you avoid for heat transfers, or reserve it for designs with small coverage where edge lift is less visible.
For prints that have already lifted slightly, a short re-press at 300°F with a pressing sheet over the design can sometimes rescue the bond. It will not fix a print where the adhesive has fully detached, and it is not a substitute for getting the settings right the first time. Treat it as a recovery step, not a workflow.
Frequently Asked Questions
Can you use DTF transfers on 50/50 cotton-poly shirts?
Yes, and it is one of the better options for blends because the adhesive bonds to both fibers. The main adjustment is temperature: keep the press around 300 to 310°F rather than the higher settings used on 100% cotton, and pre-press the shirt to remove moisture before applying the film.
Why does my DTF print look faded or discolored on a poly blend?
This is usually dye migration. Disperse dyes in the shirt move into the adhesive layer under heat, and the effect often appears days after pressing rather than immediately. Lower press temperatures, shorter dwell times, and choosing blanks with a reputation for stable dyes will reduce the problem significantly.
How long should I press a DTF transfer on a blended shirt?
Start with 10 to 12 seconds at medium pressure, then peel warm and give it a short 3 to 5 second re-press with a pressing sheet. Always verify with a wash test on your own blanks, because film brands and powder types vary enough that a single universal number does not hold across every combination.
Do DTF prints feel stiff on 50/50 blends?
They can if you use thick film, too much powder, or excessive pressure. Thinner film, a lighter powder application, and medium rather than heavy pressure all reduce hand-feel. Large solid designs will always feel firmer than small ones, so coverage size is worth discussing with customers before they approve a mockup.
Is DTF better than vinyl for blended fabrics?
For detailed multicolor artwork, DTF generally wins on blends because it does not require weeding and holds fine detail on textured surfaces. Vinyl can still make sense for simple single-color names and numbers. The deciding factor is usually design complexity and order size rather than fabric type alone.