DTF printing has transformed garment decoration by offering vibrant, durable designs with a user-friendly workflow. This approach uses a printed film as a carrier, enabling designs to be transferred to a wide variety of fabrics. The transfer process typically involves a white ink base and careful color layering to preserve detail on both light and dark textiles. For beginners, the method presents a forgiving entry point to custom apparel without heavy upfront investments. With a soft hand and strong color fidelity, it stands out among common print methods.
Direct-to-film transfers, the formal name for the film-based approach, emphasize using a PET sheet as a temporary carrier. The discussion among makers often compares the DTF transfer process with other routes, highlighting cost, scalability, and substrate compatibility. Learners explore DTF printing techniques through practice with white underbase, color layering, and proper curing to achieve consistent results. When deciding between methods, many compare DTF vs screen printing for run size, cost, and fabric compatibility to reproduce gradients effectively. By integrating these terms in your content, you signal relevance to readers and search engines while keeping the information accessible.
DTF Printing Essentials: What You Need to Know About Direct-to-Film Printing
DTF printing, short for direct-to-film printing, has emerged as a versatile and accessible method for garment decoration. This overview introduces what direct-to-film transfers are, how the workflow works, and why beginners and seasoned crafters alike are turning to DTF printing for vibrant, durable designs.
In practical terms, DTF printing uses a dedicated PET film to carry a printed design. The process relies on a white ink base for opacity on dark fabrics, a moisture-friendly film, and a heat-activated adhesive powder to bond the image to textile. Understanding these fundamentals helps you evaluate the DTF transfer process as a flexible alternative to other methods while keeping the hand feel soft and the colors lively.
The DTF Transfer Process Demystified: From Artwork to Fabric
A clear grasp of the DTF transfer process makes every step more predictable. Start by preparing high-resolution artwork with proper color separations, then print onto PET film in reverse so the final image appears correctly after pressing. The white ink layer often prints last, providing a solid base for vivid color layers.
After printing, the film is lightly dusted with adhesive powder and cured to fix the powder before transfer. The fabric is pre-pressed to remove moisture, aligned with the transfer, and then subjected to heat and pressure. Finally, the film is peeled away to reveal a durable, color-accurate image bonded to the garment, with many projects benefiting from a light post-press to enhance adhesion.
DTF Printing Techniques for Vivid, Durable Garments
DTF printing techniques center on color management, white underbase quality, and careful layering. Calibrating color profiles for your printer and ensuring strong saturation for dark fabrics help maintain hue integrity across the transfer, while a solid white underbase keeps colors bright and true.
Attention to resolution and edge definition matters too. Higher resolution artwork preserves sharp lines, but you must balance detail with ink usage and curing times. Thoughtful sequencing of color layers and substrate testing across fabrics—cotton, blends, or performance fabrics—helps you avoid misregistration and achieves a soft, durable finish.
DTF vs Screen Printing: Choosing the Right Method for Your Design
DTF vs screen printing is a common debate for designers and hobbyists. Screen printing excels for large runs with solid, simple color blocks and low per-unit costs, but it becomes less economical and flexible for small orders or designs with many colors and gradients.
DTF printing, by contrast, offers efficiency on small-to-medium runs and strong performance on a wide range of fabrics, including dark shirts with vibrant gradients. The result is a soft hand and detailed imagery, often making DTF the preferred choice when color fidelity and fabric compatibility matter more than the scale of production.
Materials, Equipment, and Setup for a Successful DTF Workflow
A successful DTF workflow starts with compatible PET transfer film, reliable water-based or pigment inks, and a robust white base. The right combination ensures good opacity on dark fabrics and clean color transfer across substrates. Adhesive powder and a capable curing setup are essential to fix the film before pressing.
Beyond the film and inks, choosing the garment is important. Beginners often start with 100% cotton or cotton blends that press evenly and showcase color depth. Pair these choices with a heat press calibrated to manufacturer recommendations, and you’ll establish a repeatable, scalable process as you gain experience.
Common Mistakes and Pro Tips for Mastering DTF Printing
Even seasoned crafters encounter recurring missteps in DTF printing. Inadequate curing can cause powder to fail to bond properly, while misalignment between the design and garment leads to off-center prints. Regular maintenance of heads, films, and rollers also keeps the process consistent.
Smart practices, such as pre-pressing to remove moisture, testing color separations on similar fabrics, and validating white underbase opacity, help prevent issues before they appear. Documenting results from different powders, cure times, and temperatures creates a practical knowledge base that accelerates improvement and reduces waste on future runs.
Frequently Asked Questions
What is DTF printing and how do direct-to-film transfers work?
DTF printing, or direct-to-film transfers, is a garment decoration method where designs are printed onto a PET film using water-based or pigment inks, typically with a white ink base for opacity on dark fabrics. After printing, the film is dusted with adhesive powder, cured, and heat-pressed onto fabric. The film acts as a carrier, delivering a soft, durable image on a wide range of fabrics.
What is the DTF transfer process, step by step?
Here’s a beginner’s overview of the DTF transfer process: 1) Prepare the artwork at high resolution with proper color profiles; 2) Print on PET film with the printer and inks, printing in reverse and with white ink as the base on dark fabrics if needed; 3) Apply adhesive powder and let it adhere; 4) Cure the film to fix the powder; 5) Pre-press the garment to remove moisture; 6) Align the transfer and press at the recommended temperature/time; 7) Peel hot or cold and perform a final press if needed.
What are the key DTF printing techniques every beginner should know?
Key DTF printing techniques include: color management and file setup (calibrate color profiles and ensure a base white where needed); white ink handling (consistent deposition for opacity); resolution and detail (high resolution preserves edges but watch curing times); layering and sequencing (order color layers to avoid misalignment); material compatibility (test fabrics and powders); and cleaning and maintenance (keep heads, films, and powders dry and clean).
DTF vs screen printing: which method is best for small runs and complex designs?
DTF vs screen printing: for small-to-medium runs and designs with many colors or gradients, DTF often offers faster setup and flexible substrate compatibility with a soft hand. Screen printing remains cost-effective for large runs with solid colors and fewer colors, but it requires multiple screens and setup. In practice, choose DTF for versatility and faster turnarounds on diverse fabrics, and screen printing for high-volume, single-color or limited-color jobs.
How does DTF printing achieve color accuracy on dark fabrics?
DTF printing achieves color accuracy on dark fabrics primarily through a white ink base applied before color layers, using direct-to-film transfers printed on PET film. This white underbase ensures vibrant color reproduction and sharp edges once transferred, while proper curing minimizes powder scattering and misregistration.
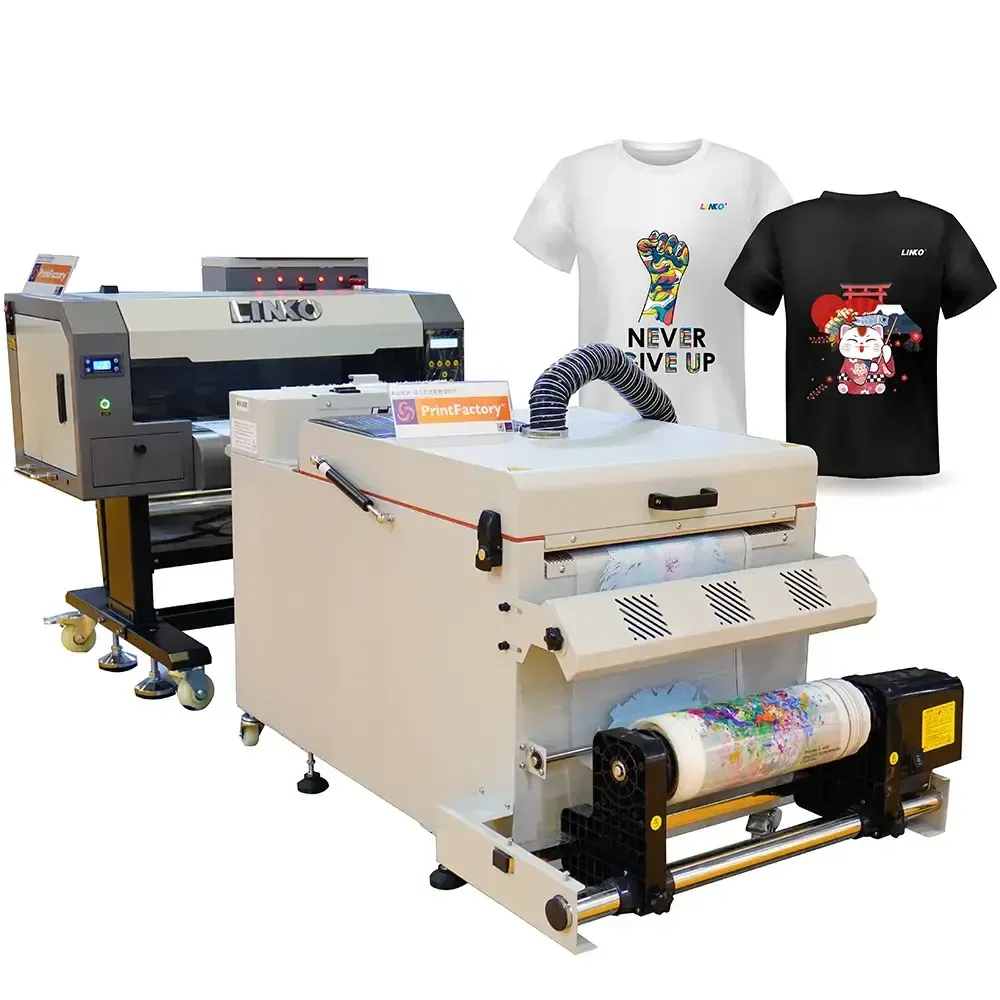
What beginner-friendly materials and equipment do I need to start DTF printing?
For a beginner setup, start with a compatible printer and DTF transfer film, reliable white-based inks, adhesive powder, a curing device, and a heat press. Choose 100% cotton or cotton blends for practice, follow manufacturer guidelines for temperatures and times, and gradually test on different fabrics to learn how each substrate behaves during transfer.
| Aspect | Key Points |
|---|---|
| What is DTF printing | DTF printing prints designs onto PET film using water-based or pigment inks, often with a white ink base for dark fabrics. The film is dusted with adhesive powder, cured, and transferred to fabric with heat and pressure. The film acts as a carrier, enabling transfers to a wide range of fabrics, delivering a soft, durable image and providing a forgiving entry point for beginners. |
| Direct-to-film transfers explained | Printed designs sit on a transparent PET film. The white ink layer is key for opacity on dark fabrics. After printing, adhesive powder is applied to create a heat-activated bond when heated to the fabric. Because the film is an intermediary, a single printer can support substrates like cotton, polyester, blends, and some performance fabrics with proper curing. |
| DTF transfer process: step by step |
|
| DTF printing techniques |
|
| DTF vs screen printing and other methods |
|
| Choosing materials and equipment as a beginner |
|
| Common mistakes and how to avoid them |
|
| A practical beginner’s roadmap to get started with DTF printing |
|