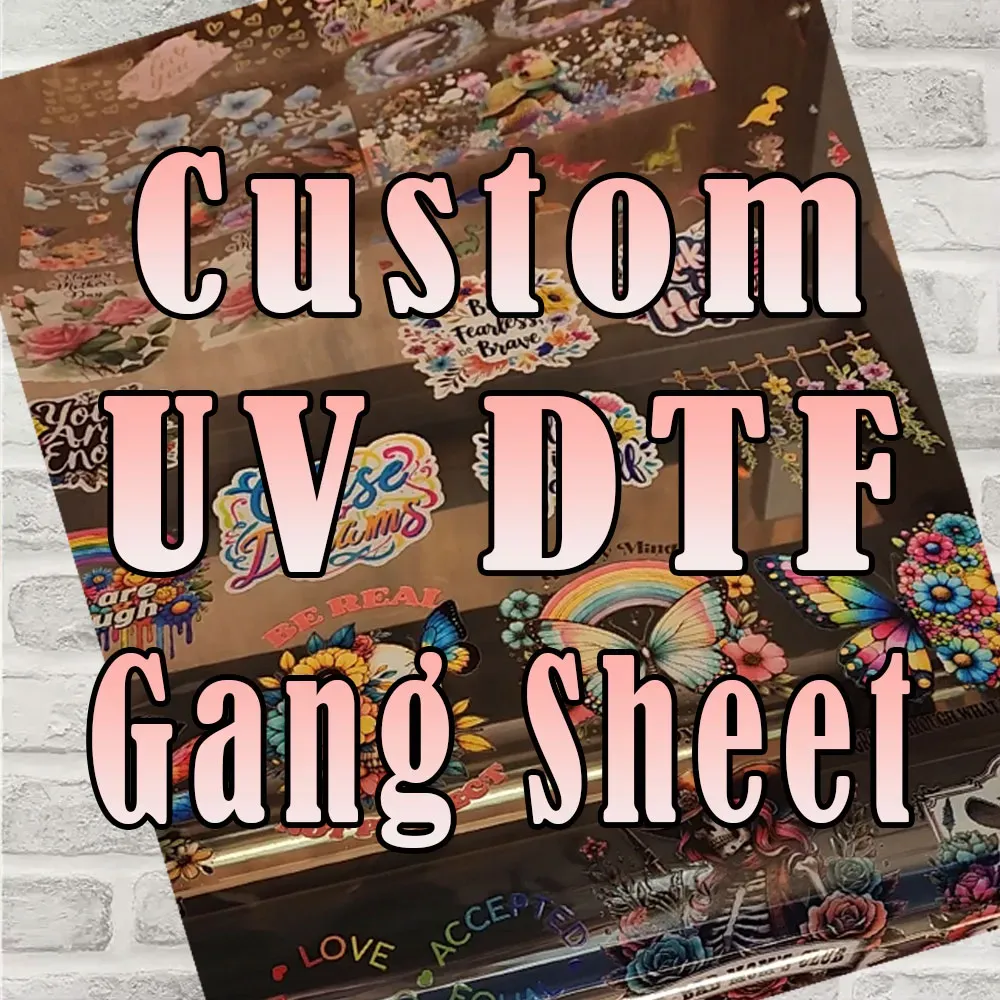
UV DTF Gangheet opens the door to vibrant, durable transfers for textiles and hard substrates. Mastering this method hinges on clean design prep and a clear set of UV DTF workflow tips you can replicate across projects. This guide pinpoints common UV DTF printing mistakes and offers practical fixes to protect color accuracy and adhesion. By aligning file prep, substrate conditioning, and curing practices, you can reduce reprints and boost production efficiency. With consistent processes and the right equipment, UV DTF Gangheet prints resist washing and wear while delivering professional results.
Seen in broader terms, this process blends UV-curable inks with a transfer film to decorate fabrics and hard substrates. You can think of it as a digital print that is laminated onto the surface and then cured to form a durable bond. Key LSIs include ink chemistry, film handling, substrate prep, adhesion promotion, and controlled curing to ensure color fidelity. Optimizing this workflow means fine-tuning design files, material choices, and post-treatment steps for consistent, long-lasting results.
Frequently Asked Questions
What are the most common UV DTF Gangheet printing mistakes, and how can you avoid them?
Common UV DTF Gangheet printing mistakes often come from design and file prep. To avoid them, use high-resolution artwork (300–600 dpi at final size), start with RGB and soft-proof or use embedded printer profiles, and include 0.125–0.25 inch bleed. Ensure legible text and proof on the actual substrate before production. This approach addresses the UV DTF printing mistakes by catching issues early.
How can you approach UV DTF Gangheet troubleshooting to fix production issues quickly?
Use a structured DTF gangheet troubleshooting approach: verify film handling and storage conditions, confirm substrate prep and pretreatment, and check curing parameters and nozzle health. Run test patches to validate color and adhesion, then adjust profiles, ink viscosity, or cure settings as needed. This keeps UV DTF Gangheet output consistent and minimizes downtime.
What are some UV DTF workflow tips to improve consistency from design to finish?
UV DTF workflow tips include establishing a repeatable process from design to finish, using calibrated monitors and color profiles, and performing test prints on the actual substrate. Maintain proper film handling, set appropriate white underbase when needed, and optimize cure parameters. Regularly review run results to refine the workflow.
What are the best practices for DTF film handling in UV DTF Gangheet projects?
DTF film handling best practices focus on storage, cleanliness, and careful loading/unloading. Keep film cool and dry, protect it from dust, avoid moisture, and handle gently to prevent creases. Ensure proper film tension and clean the work area to minimize defects during the print and transfer process.
How should you prep substrates for UV DTF to maximize adhesion and color on fabrics and hard surfaces?
Substrate prep for UV DTF is substrate-specific. Clean thoroughly, pre-treat fabrics when needed, and test on swatches to confirm adhesion and wash durability. For dark fabrics, plan a white underbase to improve color vibrancy, and follow post-treatment requirements as recommended by the manufacturer.
What quick maintenance and quality checks should be part of a UV DTF Gangheet workflow to prevent issues?
Incorporate UV DTF workflow tips like routine printer maintenance, regular calibration and test prints, and a clean, organized workspace. Monitor environmental conditions and keep detailed SOPs and run logs to track trends. These maintenance and quality checks help sustain consistent UV DTF Gangheet results.
| Section | Key Points |
|---|---|
| 1. Inadequate design and file preparation | – High-resolution artwork (300–600 dpi at final print size); avoid pixelation. – Use correct color mode (RGB with soft proofing; CMYK if required by printer/RIP, with embedded profiles). – Include 0.125–0.25″ bleed and safe margins. – Ensure legibility (readable fonts and suitable stroke width). – Proof before print (soft proofing and small test patch). |
| 2. Substrate choice and preparation mistakes | – Know substrate behavior (cotton, polyester, blends, glass, ceramic, metal). – Dark fabrics often need a white underbase; light surfaces may need less white ink. – Pre-treat fabrics when advised; test compatibility first. – Clean substrates thoroughly to improve adhesion. – Follow post-treatment guidelines if required. |
| 3. Film handling and storage mistakes | – Store film cool and dry; protect from direct sunlight. – Minimize dust and keep a clean work area. – Guard against moisture/condensation; ensure consistent conditions. – Handle film gently to avoid bending near print areas and maintain flatness. |
| 4. Ink, color management, and print settings | – Use white underbase when opacity is needed for dark fabrics. – Calibrate color with profiles and test patches; use ICC profiles if provided. – Balance print speed and resolution for detail vs. throughput. – Check ink viscosity and cure compatibility; avoid clogging or dull colors. – Maintain nozzle health and perform regular maintenance. |
| 5. Curing and UV exposure issues | – Calibrate lamp distance and power for uniform curing. – Monitor cure time to avoid tackiness or damage. – Test cure on sample runs and adjust as needed. – Check for surface tackiness after curing and adjust parameters if present. |
| 6. Transfer pressing and finishing mistakes | – Follow substrate-specific transfer settings (temp, pressure, time). – Apply even pressure to avoid ghosting. – Manage temperature and dwell time to prevent scorching or incomplete transfer. – Decide on hot vs. cold peel and test for best results. – Allow post-transfer cooling to prevent warping. |
| 7. Maintenance and process discipline | – Schedule routine printer maintenance (heads, wipers, seals). – Run calibration/test prints regularly and log results. – Keep workspace clean and organized; minimize variables. – Control environment (temperature/humidity) when possible. – Document SOPs for design, prep, printing, curing, and finishing. |
| 8. Troubleshooting quick fixes for common UV DTF Gangheet issues | – Banding/gaps: unclog nozzles, ensure ink flow, verify head alignment. – Color shifting/dull colors: reproof with corrected profile, reseat supplies, reprint test patch. – Peeling/adhesion: verify substrate prep and white underbase; adjust cure. – Surface tackiness: reduce cure time/intensity; ensure substrate compatibility. – Mechanical defects: check film tension, roller pressure, and transfer parameters. |
| 9. Best practices and a practical checklist | – Start with a design brief and print-ready files. – Rigorously prep substrates; test swatches. – Use white underbase for opacity on dark fabrics; correct layering. – Calibrate color with profiles and test patches; monitor ink viscosity and nozzle health. – Optimize curing with calibrated lamp distance/power/time and verify full cure. – Follow substrate-specific transfer settings and apply even pressure with appropriate dwell time. – Maintain a clean workspace and standardized SOPs; keep a run log. |
Summary
This table summarizes the key points from the base content to guide UV DTF Gangheet printing. It covers design and file prep, substrate selection, film handling, ink and color management, curing, transfer finishing, maintenance, troubleshooting, and best practices to help you achieve durable, vibrant transfers.